A while back we lamented that a lot of simple household tasks go uncompleted around here because we have only a few very basic tools and lack a good workbench. We still don’t own a workbench, and so far we’re 0-for-2 on DIY carpentry projects, but we decided that when it came to the bike, we weren’t going to be so complacent about it.
We’ve had our current bike for a little over a year now, and between staying for months on end in the basement while we’re at sea and sucking up all the grime and grit of Baltimore’s streets on a daily basis when we’re home, it had begun to squeak pretty badly. Our default solution of just spray WD-40 all over the motherfucker was becoming less and less effective, but without a few key tools it was about all we could do. So instead of taking it to a shop for a tune up we decided to suck it up and hit up Amazon for a tool kit and repair stand.
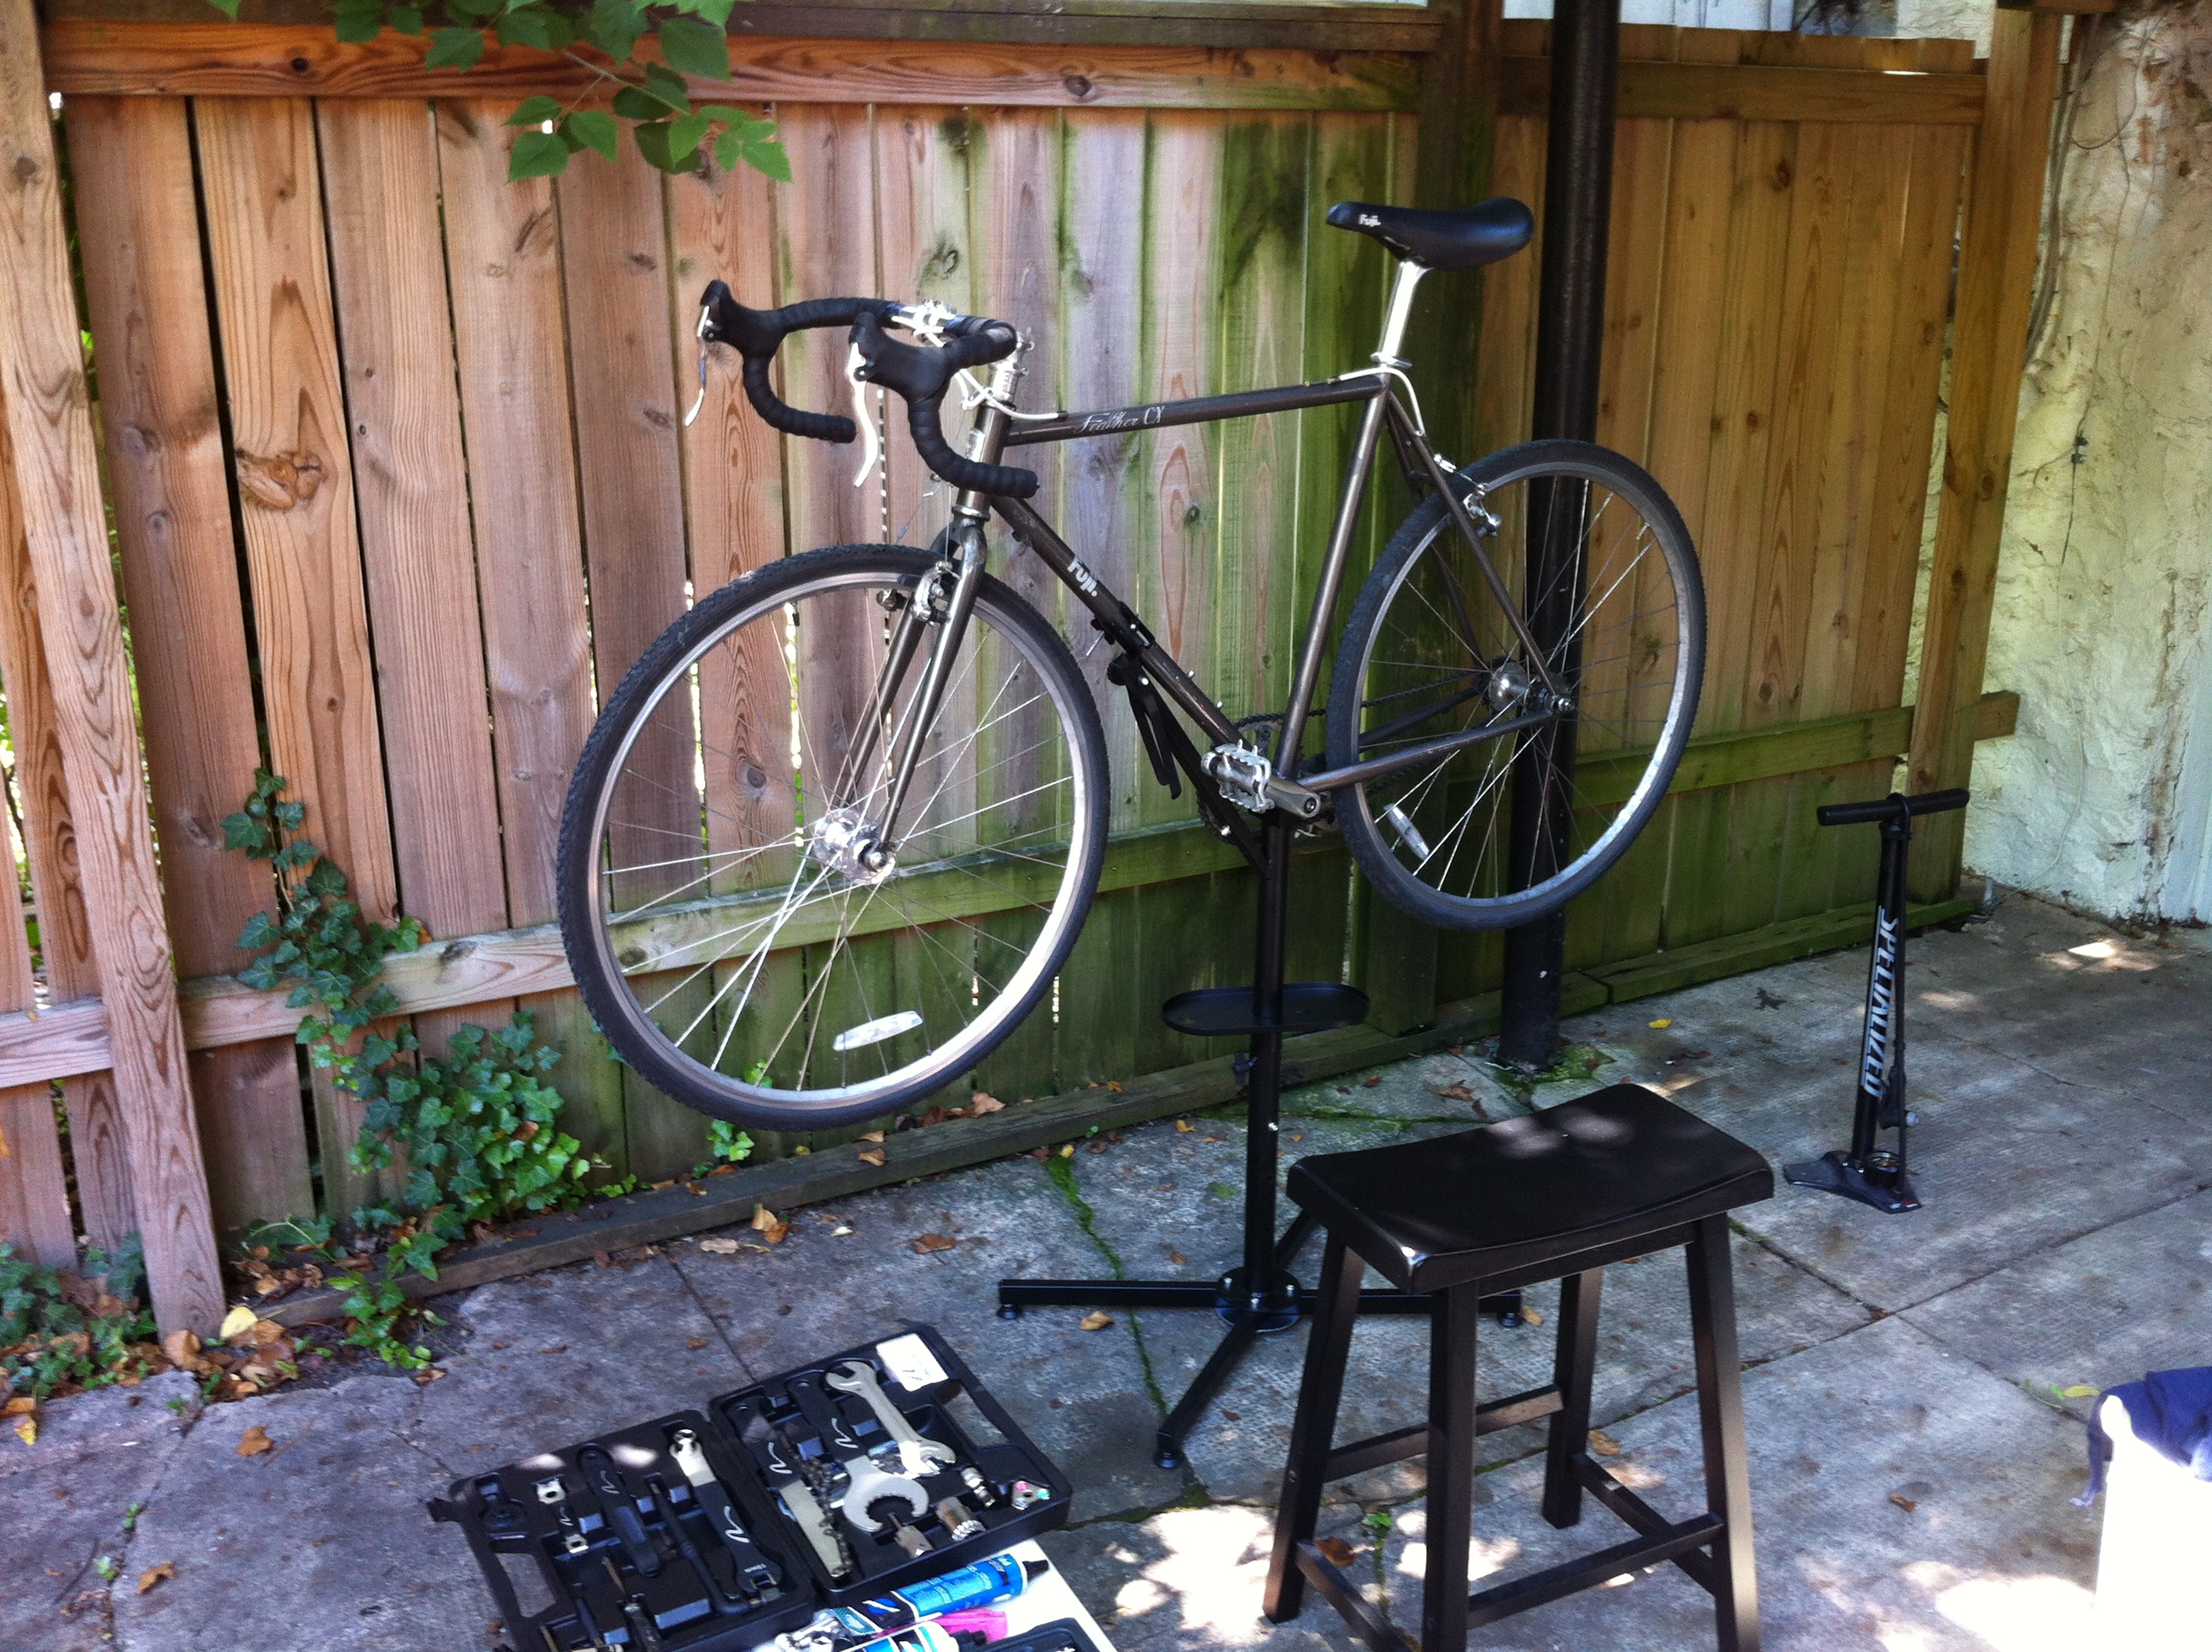
The Chop’s bike, ready for maintenance.
For someone like us who owned only the tools required to fix a flat, this was a great option. Buying tools piecemeal can run into money really quickly so dropping $65 for the kit and stand seems like a bargain, especially when compared to taking the bike in to a shop and paying labor costs a couple times a year.
We’ve got a fair amount of mechanical skill, and with tools at the ready we were almost prepared to begin, but first we thought it might be a good idea to check out a few YouTube videos to see exactly what we were about to dive into. YouTube can be a real cesspool for things like how-to videos, because many of the top results are clogged up by mega-how-to websites and are little more than ads. Still others are a little too amateurish in production, with people who know how to fix a bicycle but aren’t necessarily the best at being in front of a camera.
One of the better series’ we found was the how-to videos from nationwide bike shop chain Performance Bicycle. They’ve got over 40 videos which range from 2 to 8 minutes and are all well produced and relevant. Also helpful was the channel of online cheap-bike retailer RoadBikeOutlet, which are all well shot and long enough to be complete but short enough to reference mid-fix. If you’re interested in basic maintenance, go ahead and bookmark those now.
To make a long story short, we stripped and cleaned the pedals, crank arms, sprocket, chain and bottom bracket, as well as rotating the tires which had begun to wear unevenly. After a few hours our bike is riding like new again, and we feel just a little smarter and more accomplished for having tackled the job at home.