We’re still waiting patiently for the fast-approaching delivery date of the new sofa we’re trying to win in the Test it, Blog it, Win it contest from Su Casa Furniture. A couch is typically the first thing that goes into a living room, and in our case it was the first thing we actually picked out, but it’ll be the last to go in. Since the pieces at Su Casa (including the couch we picked from Pad) offer so many custom options, it gives us plenty of time to make the rest of the room ready before it arrives. Once it gets here, all we’ll have to do is put our feet up on the matching ottoman!
In the meantime we wanted to share with you a couple of small DIY projects we’ve completed in the living room. We watch enough HGTV to know that sometimes the only way to achieve the custom look you want in a room is to throw in a few DIY projects. It’s also a great way to stay under budget, and it’s definitely saved us a few dollars that we can spend elsewhere in the room.
Project 1: The Transom Glass.
Our front door has a transom above it that was little more than a plain pane of glass. It’s never been an issue before, and frankly we barely ever noticed it when the room was empty, but now that the space is close to being finished and we’re going to be spending time in there, our ordinary transom window was in need of an upgrade.

Our plain transom.
Ultimately, we’d like a custom piece of stained glass up there, but that’s quite an expense and having one designed and made is a big enough project all on its own. With all we’ve been doing lately we opted for a more temporary solution that’s almost as stylish and a lot less expensive. With a couple of spray cans and a little patience, we turned it into an urban-chic address panel for around $20.
[one_half] [/one_half]
[one_half_last] [/one_half_last]
[one_half] [/one_half]
[one_half_last] [/one_half_last]
[one_half] [/one_half]
[one_half_last] [/one_half_last]
[one_half] [/one_half]
[one_half_last] [/one_half_last]
(Yep. That’s part of a Dolce and Gabbana ad from the back cover of GQ.) It didn’t turn out perfectly and probably would have worked better if we’d held out for stick-on vinyl stencils, but all things considered it’s not bad. It looks a sight better than it did before, anyway:

Our new DIY transom window.
The house numbers actually look even better from inside than from the outside, and the frosted background does a great job of hiding the ugly roof of the porches outside. The industrial font in the stencils and slight overspray actually fit very well with some of the other softened industrial elements in our our design plan. For the small amount we spent on this, we’re quite pleased with the outcome.
This project also enabled us to remove our ugly old house number plaque which became suddenly redundant. It’s even inspired us to re-coat the mailbox in a hammered steel finish which will complement the transom, so we can say our living room makeover has officially spilled over onto the porch.
Project 2: The Floor Vase.
We had originally bought this floor vase, which was about $90 on sale. The problem was that we couldn’t decide whether to use it in the living room, or in an empty corner of the dining room, where it looks equally good. We knew we were going to need a second vase, but weren’t exactly keen on spending $90 or more on another one we liked just as much. So we were delighted when we found this one at Goodwill:

This vase was ugly.
It’s a ceramic vase in great condition, and has the size and shape we were looking for. And it was only $12. It was ugly though, like something you’d find in an outdated condo in Ocean Pines. That’s when we remembered about textured spray paint, and figured a stone finish would look and feel just right on this piece.

So we bought some spray paint.
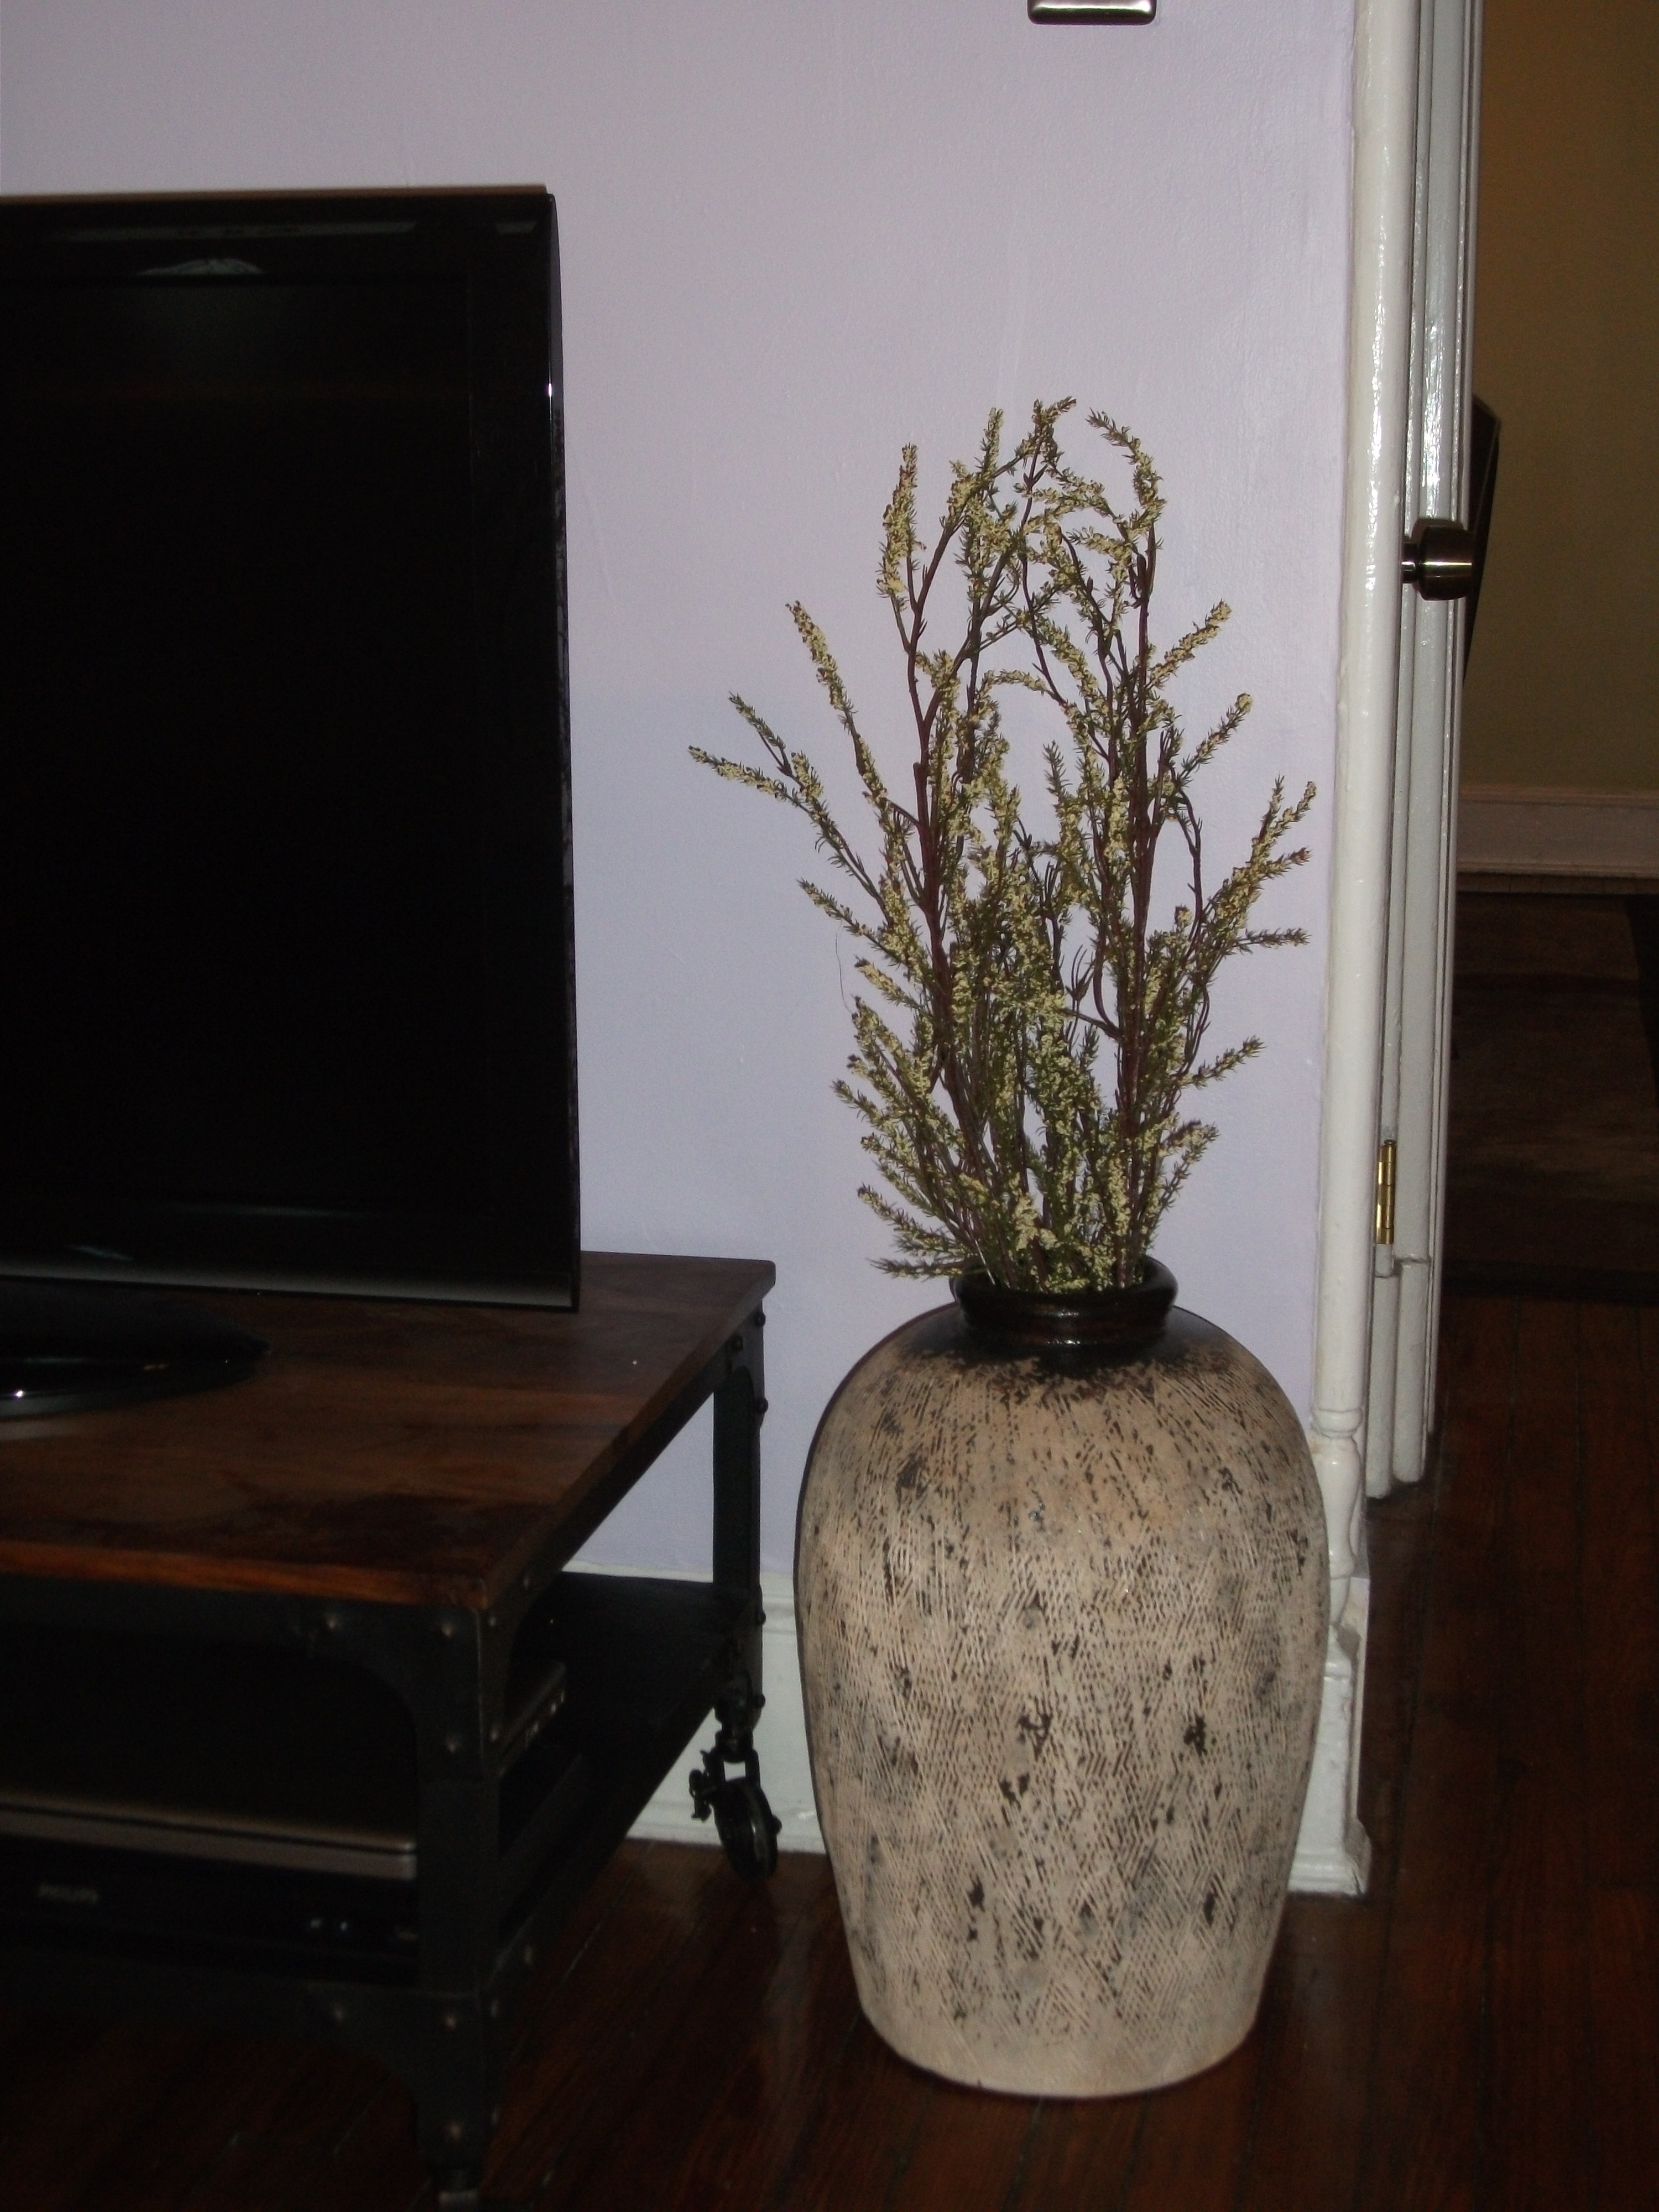
We made a quick trip to Lowe’s, and after $8 and a few hours of drying time, we have what looks like a brand new vase:

Now it looks great.
It came out quite nicely, and for only twenty bucks we ended up with not only a vase that was exactly what we wanted, but one that we can point to and say ‘Yeah, we did that ourselves.’
Little things like these are important not to overlook. We really didn’t want to get such nice furniture and set it down in a completely empty room and call it furnished. With a little thrift and imagination, we’ll be able to have our new couch delivered into an actual living room and not just some room at the front of the house.